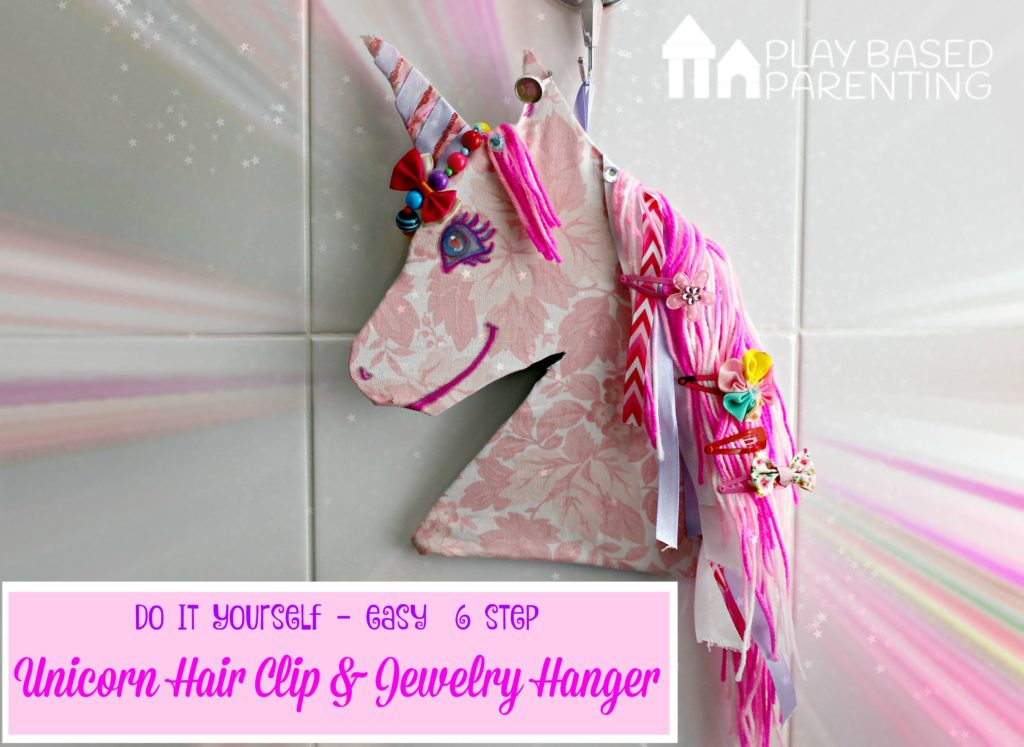
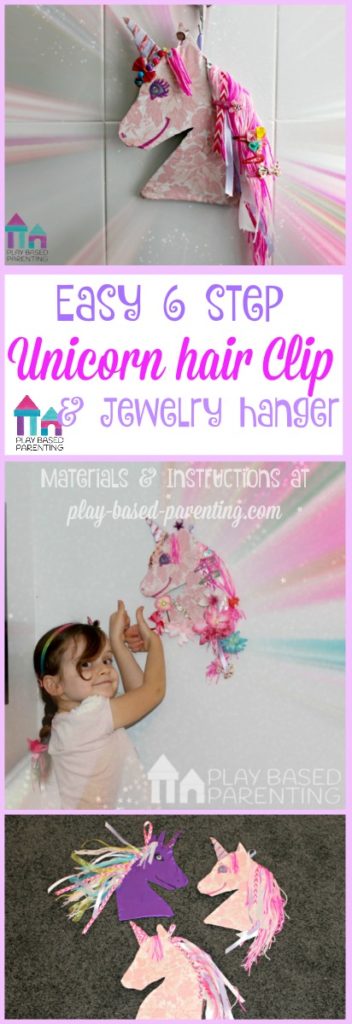
An Easy No Sew Unicorn hair clip Gift
This DIY Unicorn hair clip and jewelry holder craft, makes a perfect gift for Unicorn loving little girls and it is easier than you think and requires no sewing. In just 6 steps you can make a Unicorn hair clip hanger in any colour and design that you choose. Or make several! Below you will find the step by step guide to do it yourself and list of Unicorn perfect materials and resources that will compliment this Unicorn hair clip and Jewelry holder.
Disclosure: Affiliate links are included in this post for your convenience.
You will need
- To print this Unicorn Template.
- Cardboard
- Pretty Fabric
- A hot Glue Gun (like this one)
- and hot glue refills
- Wool
- Ribbons
- Sharpies (i love this set )
- Glitter glue
- Rhinestones/Diamonte’s (like these ones)
- Hair Clips & Jewelry.
- Then follow 6 easy steps below…
Gift ideas to accompany your DIY Unicorn Hair Clip hanger.
Once you gather all your materials and gift ideas to accompany your Unicorn hair clip hanger you will need to follow these 6 easy steps. First, prep your work space, have your glue gun and refills ready, have your ribbon for the horse hair cut into pieces and ready to go…
Step 1 – Print out the Unicorn Template and Cut it out.
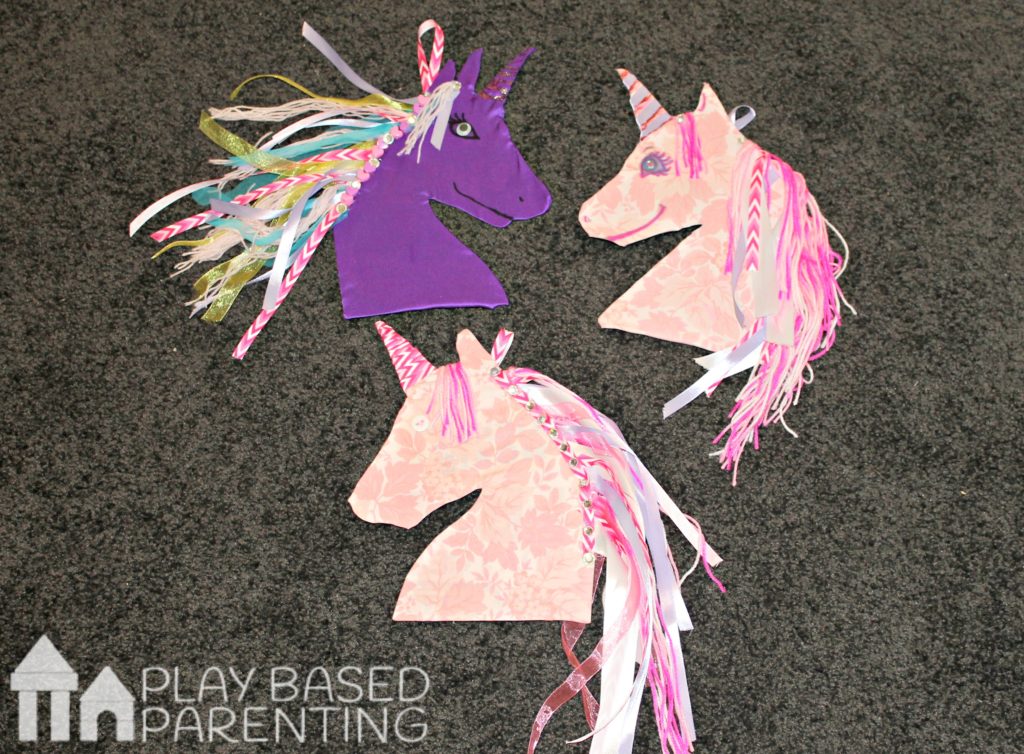
The Unicorn template has two ears, I made a purple one with two ears but it was very fiddley, to make it easier you can cut off the ear closest to the horn and it will look like the pink one I made in the picture above.
Step 2 – Outline and cut out the template on thin cardboard.
Trace the template on to cardboard and cut that out.
Step 3 – Place the cardboard unicorn head on material and roughly cut around it.
Make sure you do a rough cut and leave enough excess materials for movement when folding up over the back of the cardboard.
Step 4- Hot Glue the Material.
Facing material down, place the unicorn head on the back and use your hot glue to attach the edges around the back of the unicorn. Make sure it is firmly secure around all corners and edges.
Step 5- Add Wool and Ribbons.
I bundled small bunches of wool together and used the hot glue to attach wool and ribbons as the horse hair (See the video below). I secured the ribbons on the back with hot glue and then continued to tack them down with the glue along the front so they all fell downwards in the right direction. I used ribbon around the horn as well. I then secured a ribbon loop on the back that can be used as the hanger.
Step 6- Make it pretty.
Add some glitter glue to the horn. Add some adhesive rhinestones and diamonte decorations. Use your sharpies to draw on an eye and a smile. You could use a button or a googly eye if you didn’t want to draw on it. If you want to finish it off on the back so it looks nice and clean, cut another template out on coloured paper or cardboard and hot glue gun that to the back of the unicorn. This will ensure all material edges and ribbons are hidden and secure, it will also give you a blank canvas to write a sweet Christmas or birthday with if you are giving the Unicorn as a gift.
Easy! You are done.
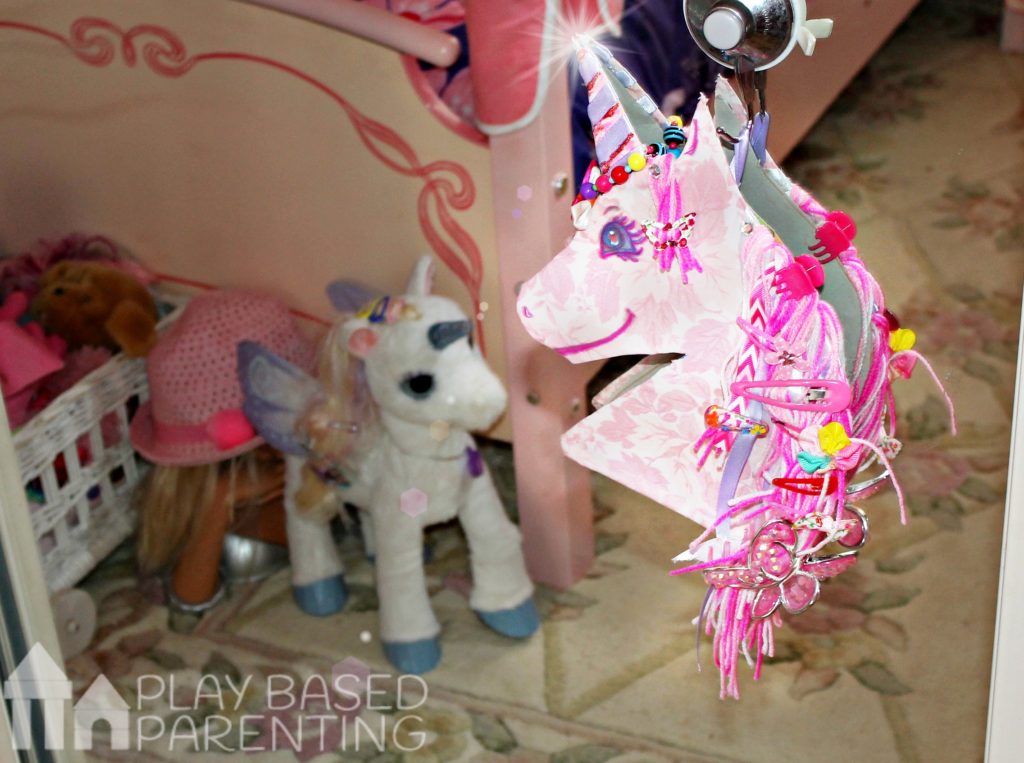
The Unicorn Hair clip and Jewelry hanger holds bobby pins along the neck, hair clips and hair ties in the horses mane, it will carry bracelets on the horn and a ring on the ear, you can hang head bands around its neck and alligator clips up the back of its neck.
For the ideal gift, wrap it up with some new hair clips, a bracelet, a headband, a ring and a cute unicorn book or stuffed toy.
We love the story of Thelma the Unicorn. It would go perfectly as a gift.
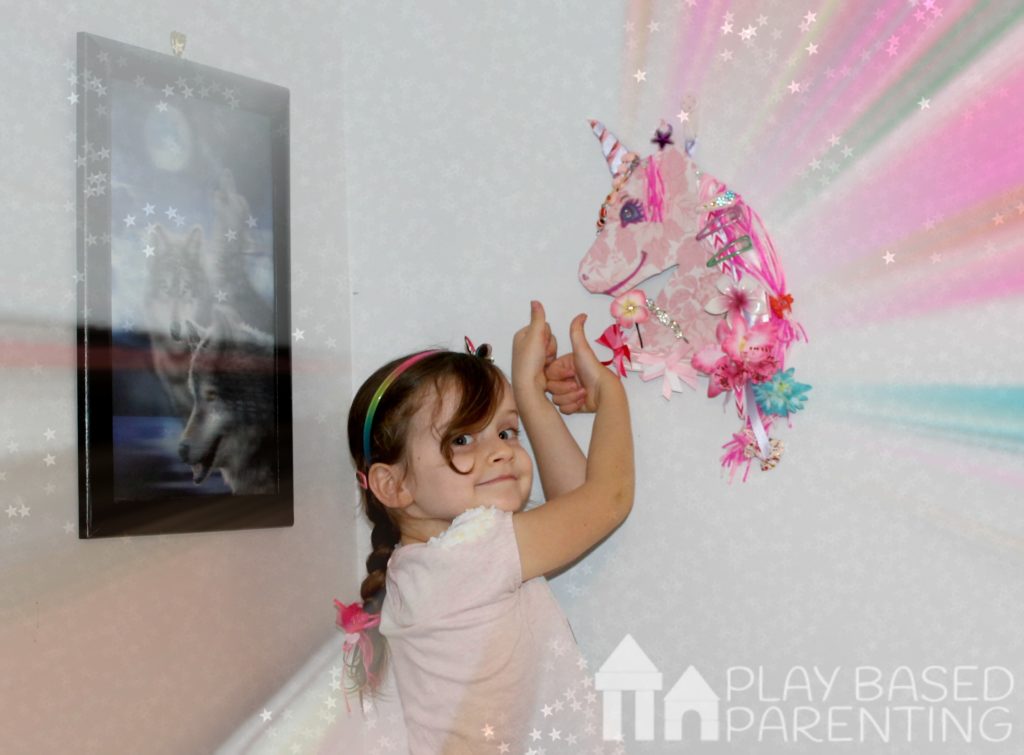
Make several different unicorn hair clip and jewelry hangers.
By using different coloured material, different wool and ribbon you can make any design to suit the girls bedroom or favourite colours. We did a few different ones in opposite directions so that two can hang next to each other, looking at one another. Miss T cutely announced that they were Unicorn hair clip friends.
Thanks for visiting our Easy 6 step unicorn hair clip hanger.
If you decide to give this a go, I would love to see how it turns out. You can follow me and get in touch by visiting Facebook or Pinterest.
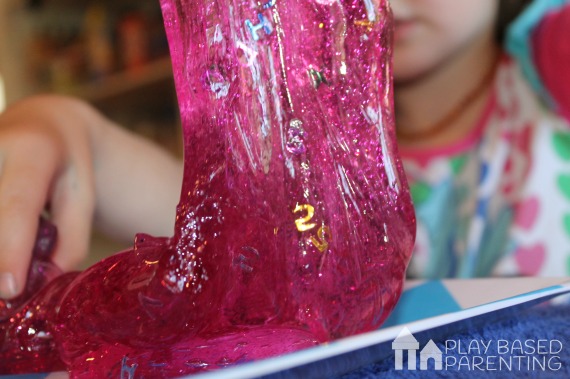
You might also like to jar up some Pink Glittery Slime to go with your gift, Click below for the recipe.
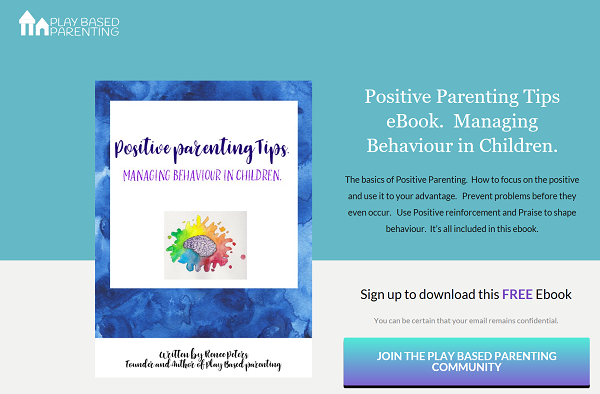
Get your free eBook on Managing Difficult Behaviour here
Leave a Comment